
Appearance
Finding your way around
Five minutes of orientation and the rest of the manual reads easily.
The ribbon
The row across the top — File · Dashboard · Sales · Purchases · Inventory · Accounting · Reports · Settings — is how you reach everything. Click a tab and a panel of that area's screens opens beneath it; click the same tab again to tuck the panel away.
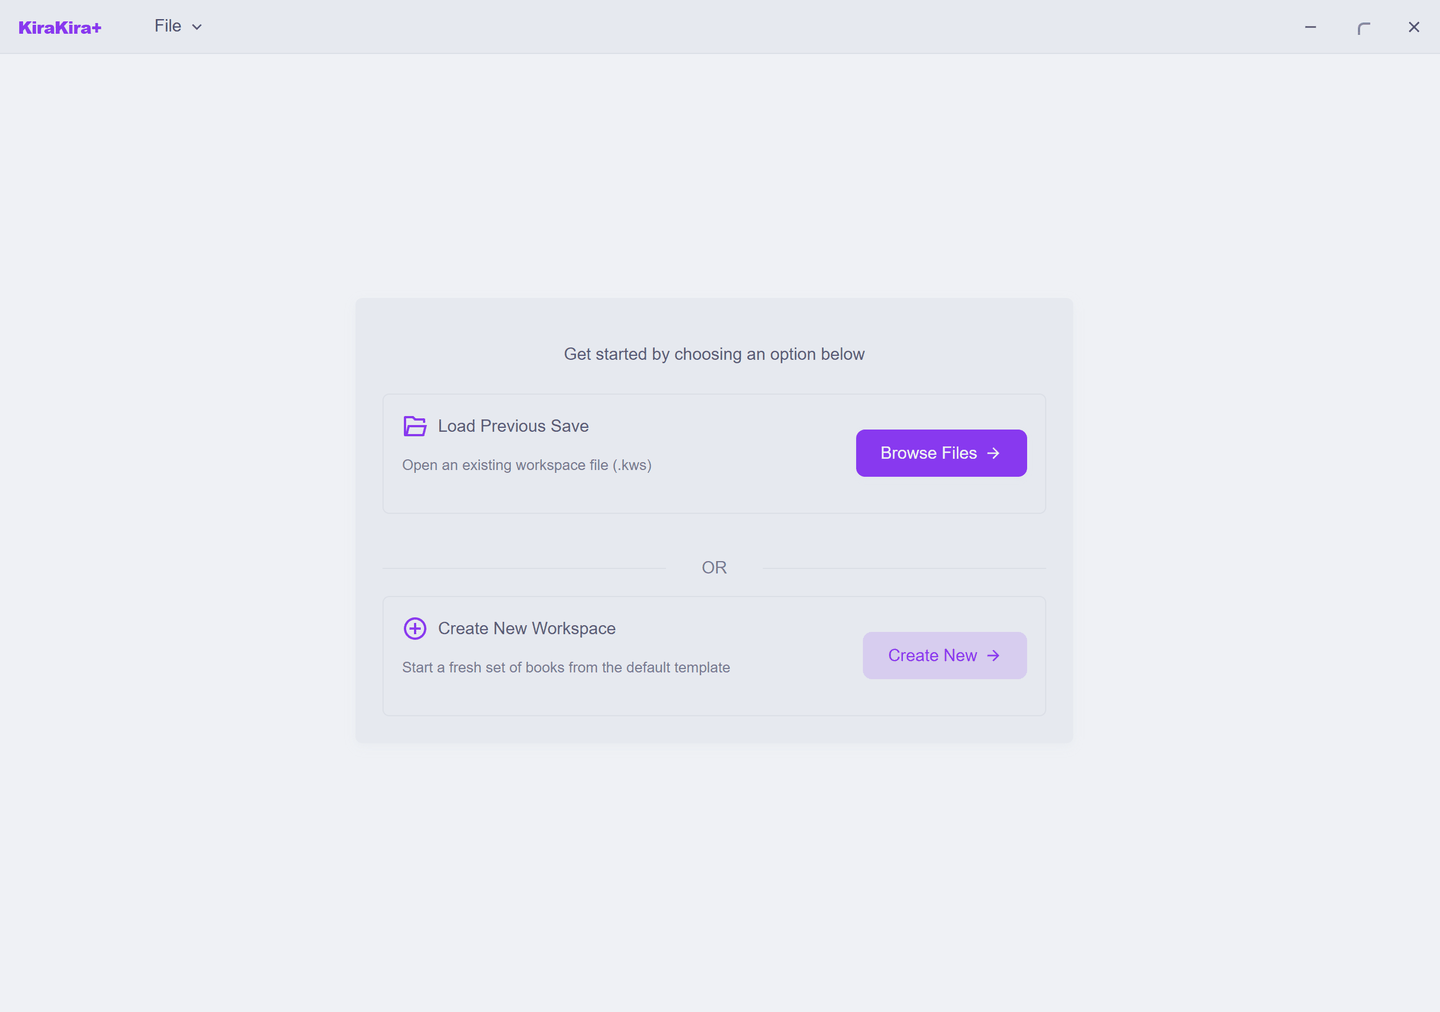
File is the odd one out: a menu, not a tab — New, Open, Save, Save As, this User Manual, and Exit.
Screens and their tabs
Most screens share one shape: a list of documents with a New tab beside it for creating the next one, and status counters across the top (Draft, Active, Paid…) that double as filters. Learn it once on the invoice list and every other document screen feels familiar.
The manual and its tours
This manual lives inside the app — File → User Manual — so it is always at hand and always matches your version. Pages that teach a screen carry a ▶ Take the tour button: press it and the app itself walks you through, highlighting each field with a short explanation. The manual steps aside while the tour runs and returns when it ends.
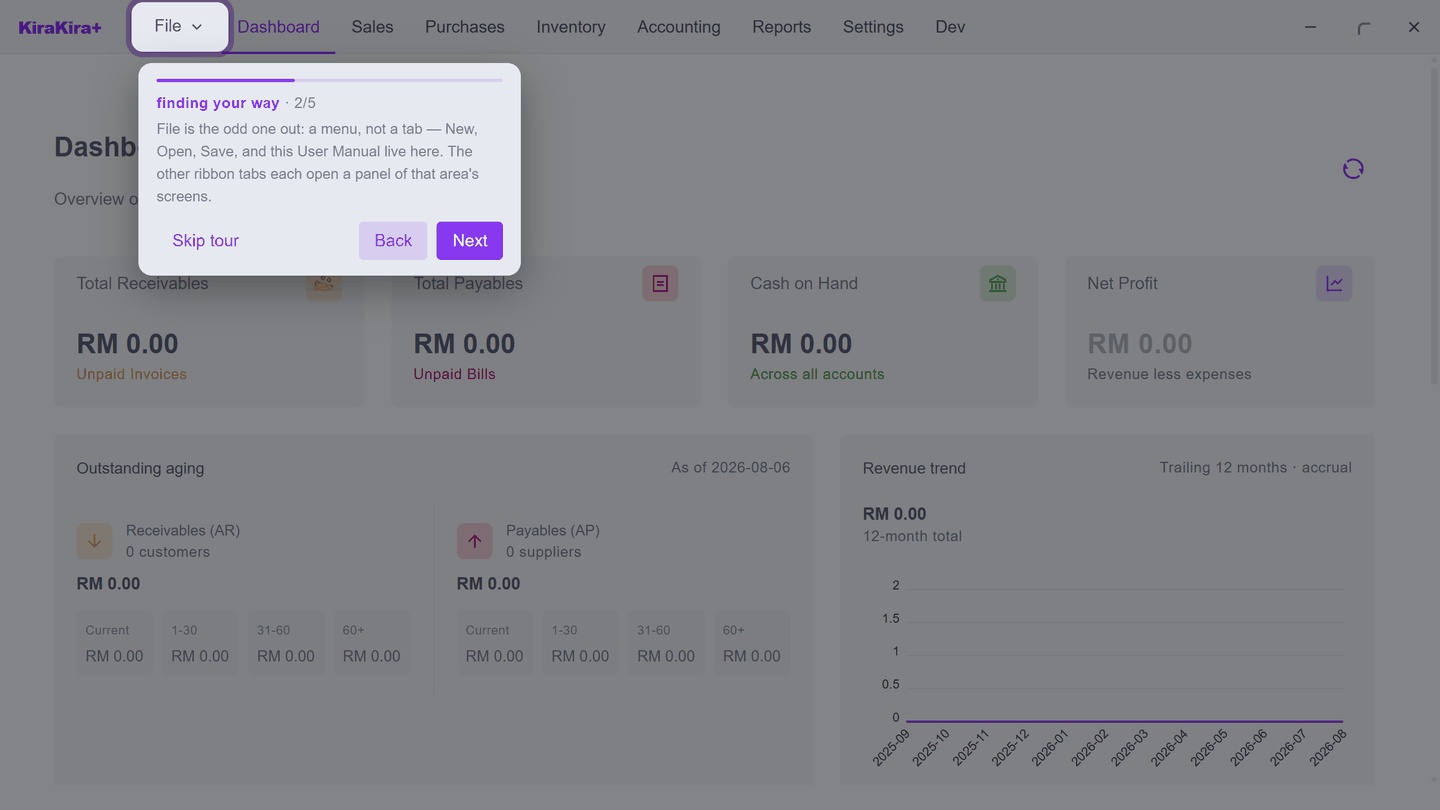
Tours only point and explain — they never change your books. The one thing they ask is that a workspace is open first.
Where to next
Straight to work: Set up your business, then send your first invoice.